...
- Upload and provide information about dataset(s) to your Dataverse. (Alternatively you can upload datasets directly into your institutional Dataverse.)
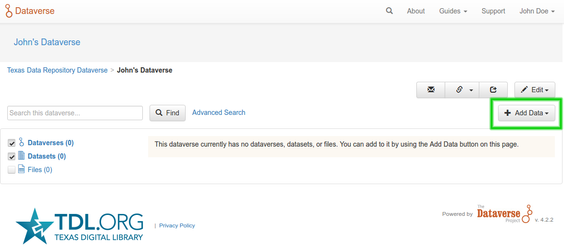
- Upload your datasets by clicking Add Data and selecting New Dataset.

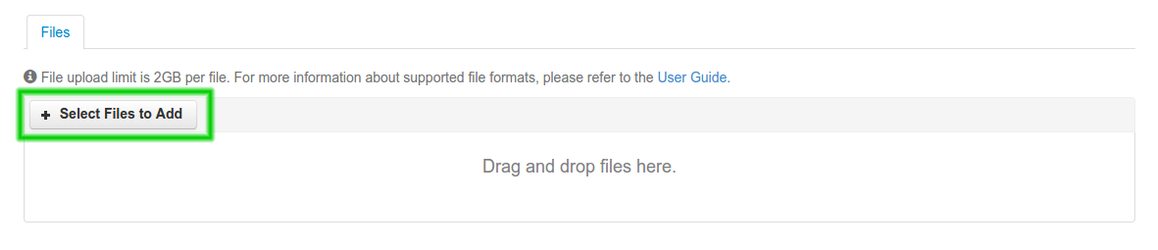
- Complete the required citation metadata fields and upload your data files and documentation by selecting + Select Files to Add.

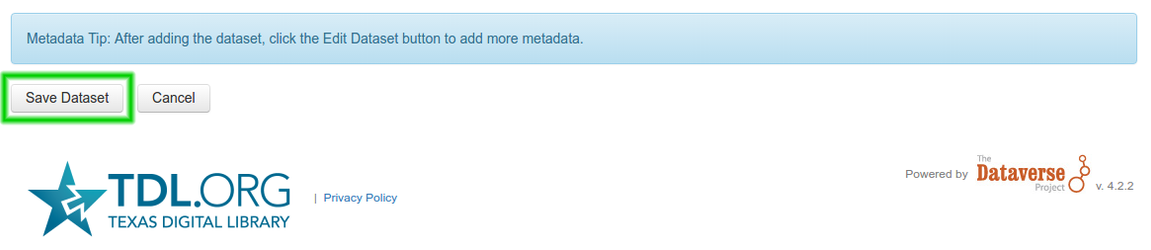
- Select Save Dataset to add your unpublished data files and documents to your Dataverse.

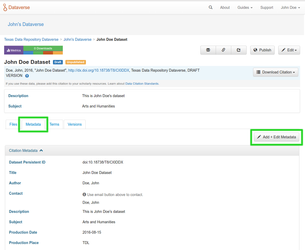
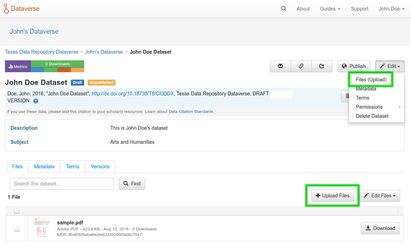
- Metadata can be edited by clicking Edit Dataset and selecting Metadata.


- Datasets can be edited by selecting a dataset and clicking Edit.

- Additional data files may be added by clicking Upload Files in the files tab.

- You may restrict access to your datasets as well.
...
- Users and Groups can be granted permissions to access unpublished datasets with varying levels of permissions for viewing, modifying, and contributing to the dataset. For more on roles and permissions, go here.
- From the dataset page, click Edit → Permissions → Dataset.

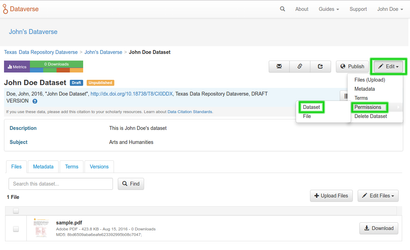
- Click "Assign Role for Users/Groups"
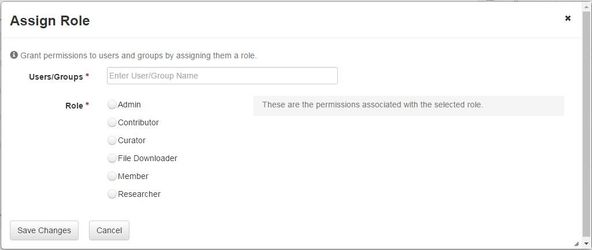
- Begin entering the username of the user you would like to add to the dataset. As you type, options will appear. (The person you are sharing the dataset with must have a user account in order to be invited to collaborate.)
- Select the appropriate role for the user, depending on the level of access you wish them to have.

| Anchor | ||||
|---|---|---|---|---|
|
- When the submitter is ready to make a dataset available to the public, the dataset may be pulbished by clicking Publish. Depending on your institution's policy, you may instead see "Submit to publish" and your dataset will be submitted to the Data Repository Librarian at your institution for publication.

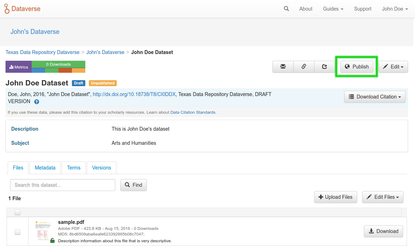
- A pop-up notification will confirm that you are ready to publish the dataset.

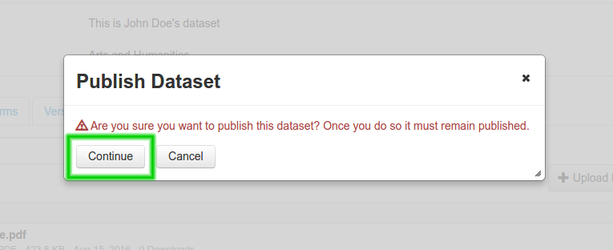
- The dataset cannot be unpublished, but it can be edited and, if necessary, deaccessioned.
- IMPORTANT: Each time a dataset is edited after publication, it will need to be republished for edits to appear to users.
...
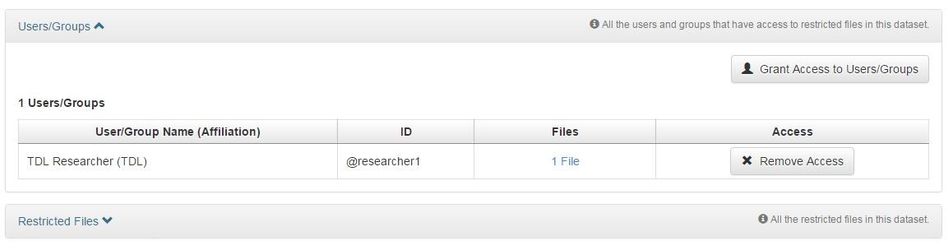
- Users and Groups can also be granted permissions to access restricted files within a published dataset, using a similar method to granting access to unpublished datasets (see 3.2 Share Dataset). Granting permissions at the file level automatically assigns the "file downloader" role to the user.
- From the dataset page, click Edit → Permissions → Restricted Files.
- Select Grant Access to Users/Groups.

- A "Grant File Access" popup window appears.
- Select the individual files you would like to share.
- Begin entering the username of the user you would like to add to the dataset. As you type, options will appear. (The person you are sharing the dataset with must have a user account in order to be invited to collaborate.)

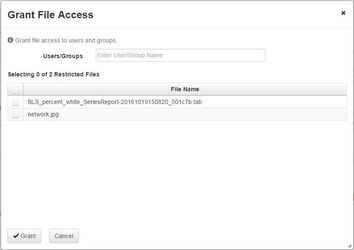
- Click "Grant."
...
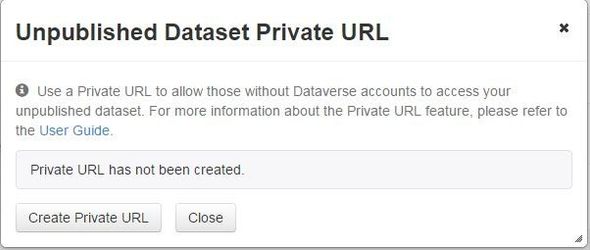
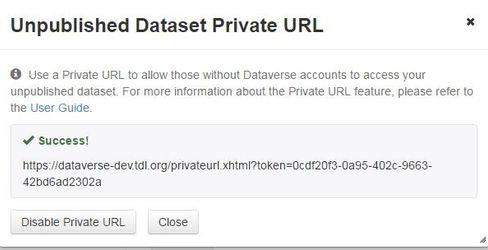
- You can share an unpublished dataset widely with users who do not have Texas Data Repository user accounts by creating a private URL.
- From the dataset's web page, select Edit → Private URL.
- In the popup window, click "Create Private URL." The URL that appears can be shared with trusted users to provide them access to the dataset without requiring them to log in to the repository. Click "Close" to complete the process.

- You may choose to disable the Private URL at any time by navigating back to the Private URL management popup and clicking "Disable Private URL."

| Anchor | ||||
|---|---|---|---|---|
|
...
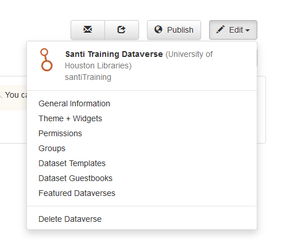
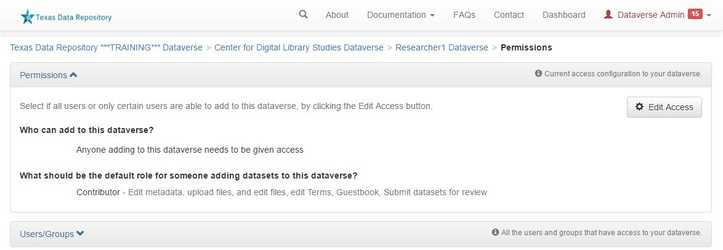
The Texas Data Repository allows dataverse administrators to add other users and groups to an existing dataverse. The administrator is able to assign specific roles for each user or group using the Permissions and Groups modules found in the edit dropdown menu for any dataverse.

The Permissions page is divided into three modules: Permission, Users/Groups, and Roles. The Permissions module lists the default roles and permissions of a dataverse for all members of the Texas Data Repository. The Users/Groups module allows a dataverse administrator (usually the creator) to assign specific roles to specific users/groups. The Roles module is a guide that explains the roles and functionality assigned to each type of user account.

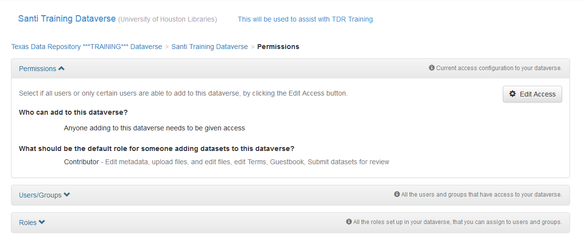
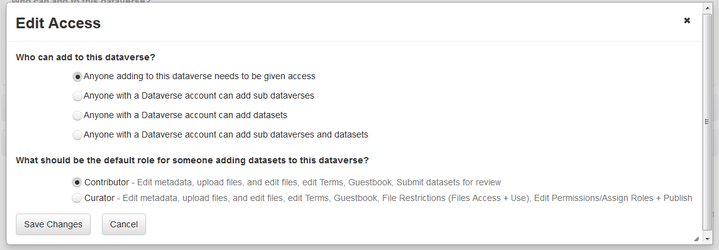
Under the permissions module, you can determine the default role for a dataverse. Default permissions state that anyone to a dataverse needs to be given access by the owner and their designated role in the dataverse is one of contributor.
...
1. Selecting the Edit Access button.

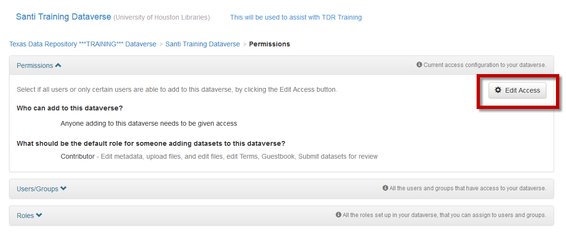
2. Once selected, the user has the option of narrowing or broadening default access levels for any member of TDR who would want to contribute to a dataverse.
a. Note: Roles for specific individuals or groups are available through the Users/Groups module in the Permissions interface of TDR.

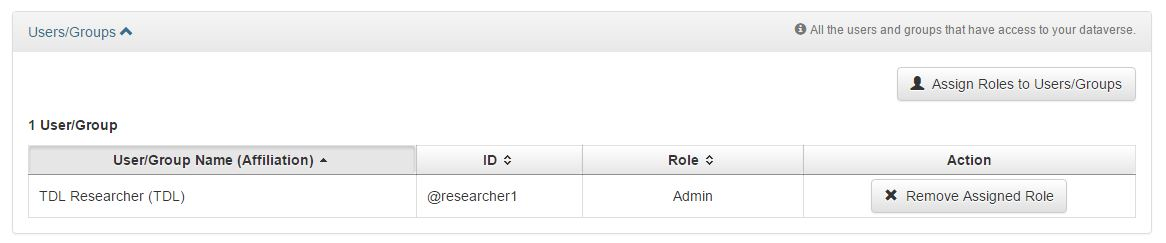
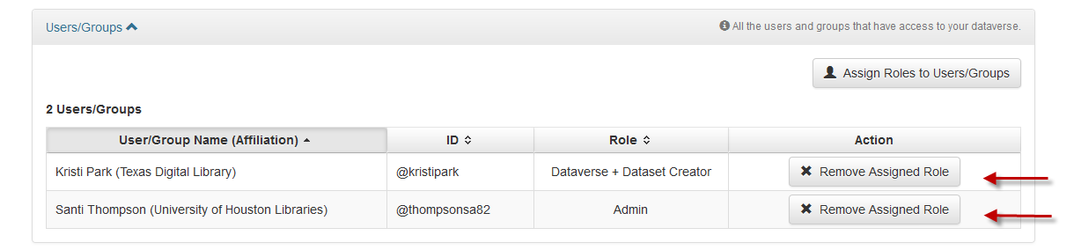
To assign a new role to a specific user, use the Users/Groups module.

1. Select the "Assign Roles to Users/Groups" button.

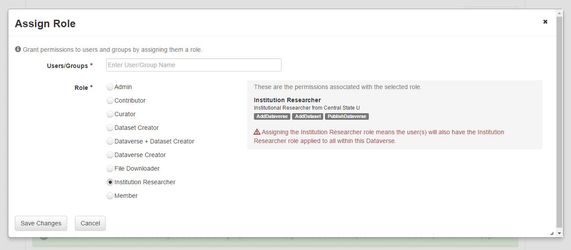
2. Enter the name of the User or the Group first.
a. Note: When you enter a name, it auto fills with names that are already registered with the TDR.


3. Then select the role that they should be assigned.

4. Once you save changes, the users or groups will be listed in the Users/Groups module. This is the location where you can delete any assigned roles.

It is also possible to create groups and assign them roles using the Groups module in TDR.
...
2. Select the Create Groups button

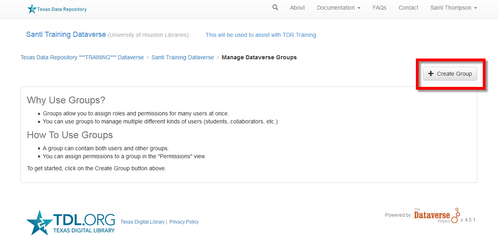
3. Enter information about the group and select the users or other groups that will make up this group.


4. Once created, a notification will appear that states you have successfully created the group. Refresh the page to see the group listed under the Users/Groups module. Use this module in the future to edit or delete the group.


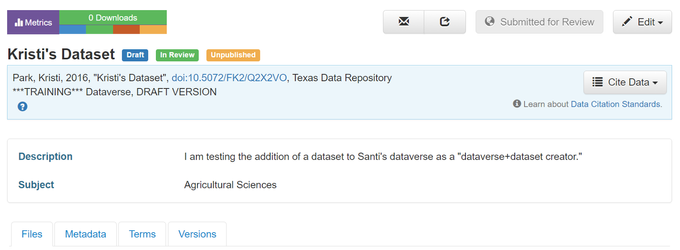
3.7. Adding Data to Another Dataverse
...
1. To Submit for Review, go to your dataset and click on the "Submit for Review" button, which is located next to the "Edit" button on the upper-right.

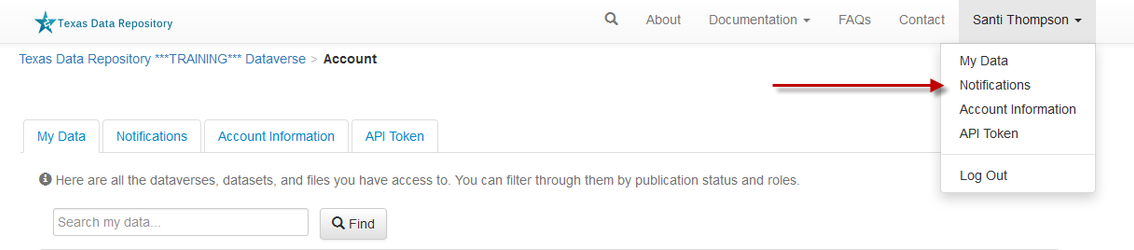
2. Once Submitted for Review: the Administrator or Curator for this sub-dataverse will be notified.


3. The admin for the sub-dataverse will be asked to either "Publish" the dataset or "Return to Author". If the dataset is published, the contributor will be notified that it is now published. If the dataset is returned to the author, the contributor of this dataset will be notified that they need to make modifications before it can be submitted for review again.
...