Creating a Community or Sub-community
- Login to Repository
- Decide where you want your proposed community or sub-community to be located in the repository hierarchy
- Communities and sub-communities are useful for organizing content within your repository, but they do not actually hold items - collections hold items. Think through the architecture for your content before creating any communities, sub-communities, or collections as it can be difficult to change things after you’ve started adding content.
- See Relationships in DSpace for more information about the DSpace repository hierarchy
- Navigate to the appropriate location in the hierarchy
- If you are adding a top-level community, you should only see one option for Create Community

Here you will be able to add the following information about your community
- Name of community (required)
- Short description of community (optional)
- Introductory text to your community (optional)
- Copyright text (optional)
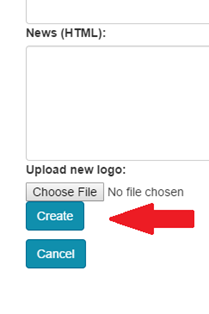
- News about your community (optional)
- You can also upload a logo or image by browsing to the file on your local computer
- Once you have added your content, click Create at the bottom of the page
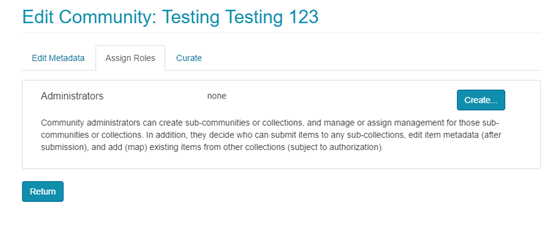
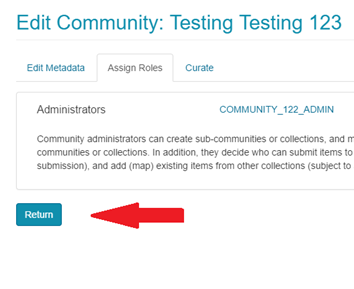
- Your screen should switch to the Edit Metadata tab within the edit community menu
- Switch to the Assign Roles tab to designate administrators for your community
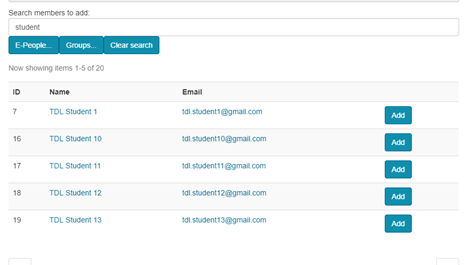
- Type the last name of the person you wish to add in the Search members to add box
- That person should have logged into the repository at least once in order for the system to recognize them.
- Click the E-People button or press enter to search for that person’s name

- Click Add next to the person’s name you wish to add
- Then click Save
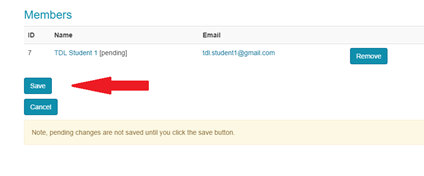
- When you are finished assigning administrators for the community, click on Return
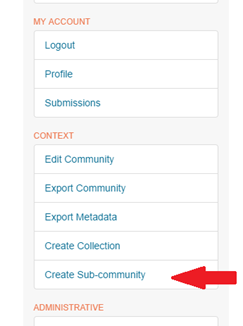
- If you are adding a sub-community, go to the higher level community (where you want your sub-community to be listed) and then click on Create Sub-community. After doing that, the instructions are the same as adding a new community.
Creating a Collection
- Login to Repository
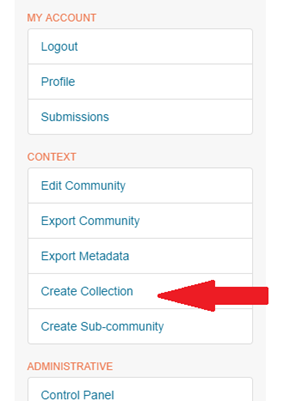
- Navigate to the community or sub-community where you want to add your collection
- Click Create Collection under CONTEXT in the right-hand navigation bar
Here you will be able to add the following information about your collection:
- Name of collection (required)
- Short description of collection (optional)
- Introductory text to your collection (optional)
- Copyright text (optional)
- News about your collection (optional)
- License (optional) – if there is a specific license that applies to the entire collection (for instance CC-BY) you can add that information here. There is also space to add license information when uploading an individual item.
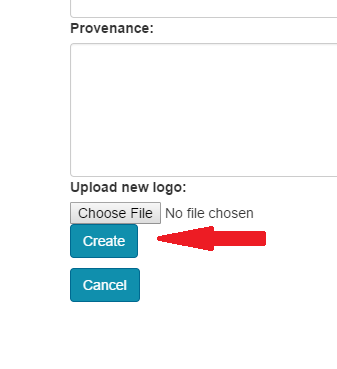
- Provenance (optional) – provenance is the history of ownership of materials prior to acquisition by the current institution. Typically used to refer to art collections or historical materials.
- You can also upload a logo or image by browsing to the file on your local computer
- Once you have added your content, click Create at the bottom of the page
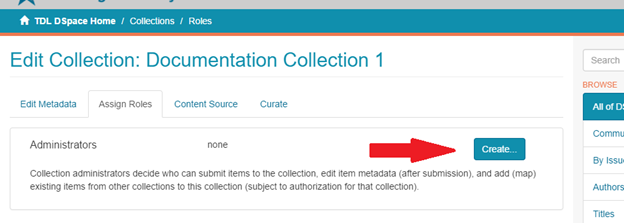
- Your screen should switch to the Assign Roles tab within the edit collection menu
- To add an Administrator for the collection, click Create to the right of the Administrators option
- Type the last name of the person you wish to add in the Search members to add box
- That person should have logged into the repository at least once in order for the system to recognize them.
- Click the E-People button to search for that person’s name
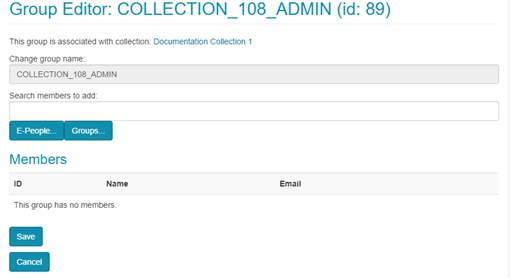
- Click Add next to the person’s name you wish to add

- Then click Save

- To add reviewers, click Create for the workflow step you want to choose for your collection (see Workflows for more information about workflow steps).
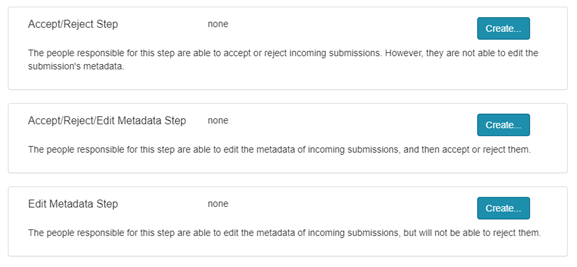
- For a 1-step workflow, select the Accept/Reject/Edit Metadata Step and follow the steps above for adding someone
- For a 2-step workflow, follow the steps for adding people for the Accept/Reject Step and again for the Edit Metadata Step
- To add submitters, click Create to the right of the Submitters option
- Follow the steps above for adding someone

- When you are finished assigning roles for the collection, click on Return
