Users, Groups, and Roles
Documentation in this section is for a legacy version of TDL-hosted DSpace repositories. As of December 2023, all TDL-hosted repositories are in DSpace version 7.6.
Definitions
E-Persons
A user, or user account, is called an "E-Person" in DSpace. For many functions in DSpace, like searching and retrieving openly available documents, a user account is not necessary. That is, users do not have to be authenticated to browse, search, and retrieve content. However, for administrative tasks, and to access certain restricted documents in the repository, users must have an E-Person account and log in with that account.
In TDL-hosted DSpace repositories, new e-persons are created in one of two ways:
- Users affiliated with the host institution. Most TDL-hosted repositories are integrated with campus authentication systems via Shibboleth. Any user with campus credentials can log in to the repository, and as soon as they do, an E-Person is created for that user. That E-Person account does not necessarily have any special privileges associated with their account automatically, but once they have logged in one time, a Repository Administrator can search for and find their E-Person account and grant privileges to it.
- Users not affiliated with the host institution: Repository Administrators can create E-People for users who do not have campus credentials and cannot log in via Shibboleth. The process for doing this is explained in Creating E-Persons for Non-Affiliated Users.
Groups
Groups are a list of E-People. Any E-Person added to a group gets the permissions granted to that group.
DSpace has two default groups created: Administrator and Anonymous.
E-Persons and Groups are the way DSpace identifies users for the purpose of granting privileges.
Roles within DSpace

Authorizations and Managing Groups
There are two possible methods for managing groups.
Method 1: Create Groups per Collection
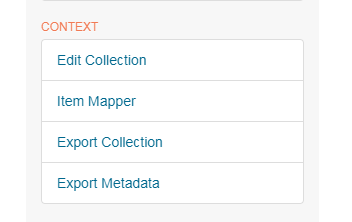
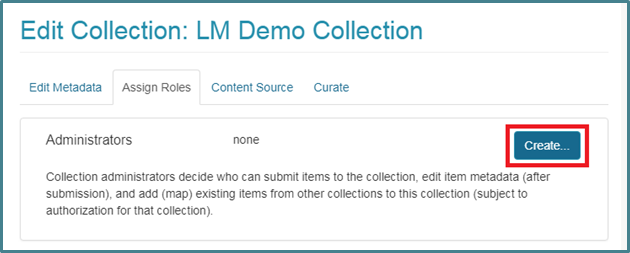
From the collection you wish to assign to a group go to Edit Collection => Assign Roles
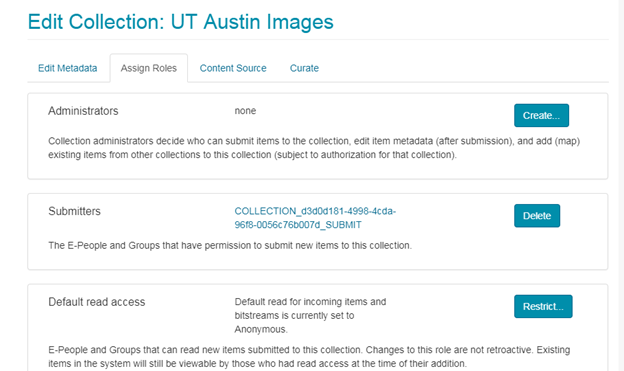
- Create a group of collection Administrators

- Create a group of Submitters

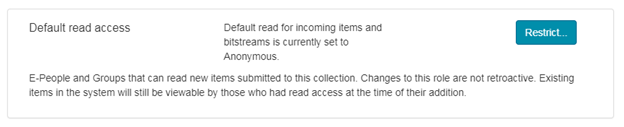
- Create a specified Group who can access materials (the default is “anonymous”)
- Create workflow steps (covered under the section on Workflows).
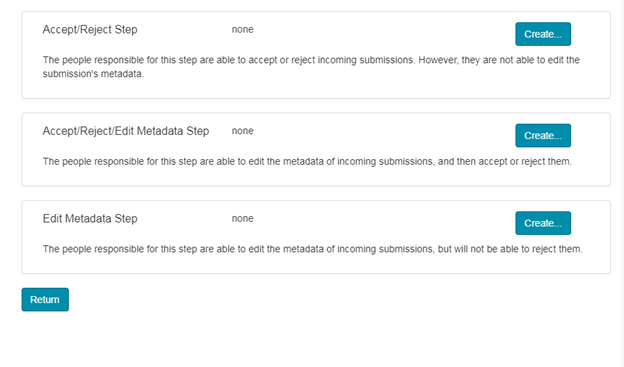
To create a Group: Click “Create” (or “Restrict”), search for and add E-People to the group, and then click Save.
Method 2: Create Repository-wide groups
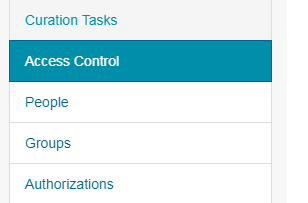
Access Control => Groups
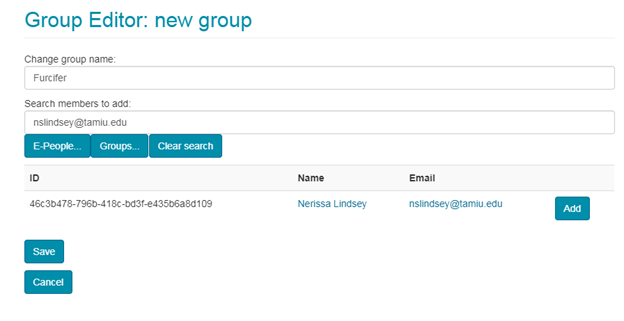
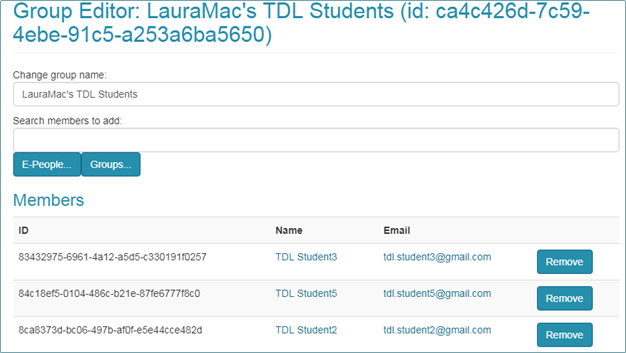
- To create a group: Click “Click here to add a new Group,” give the new group a name, search for and add ePeople to the group, click Save.

No privileges are attached to any groups created through Method #2. But groups created with this method then become available to be authorized in other parts of the interface.
Use Case: When to Use Each Method
One reason to use the group method of authorization (Method #2) over individual collection authorization (Method #1) is that the authorizations in Method #1 are not retroactive. For example, if the only “Accept/Reject” person for a particular collection leaves your institution, any new submissions awaiting review can get stuck with no one there to accept them.
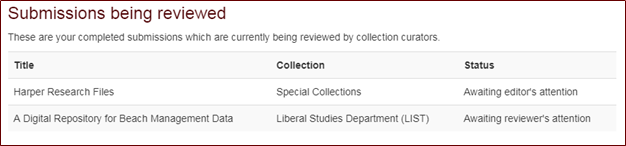
The librarian at TAMUG submitted the items pictured above before she gave herself the proper authorizations for the collections. Now the submissions are stuck in review, and no one can remove them. She later fixed the authorizations, but still could not approve the submissions -- she had to resubmit them. Especially if you have a high-turnover population (e.g. student workers) working in DSpace, this can become a problem.
SOLUTION: Create a group (of editors, student workers, etc.) via Method #2, then assign privileges to that group. Group members will then have those privileges for all items throughout the life of the group, no matter when the people get added to or removed from the group.
EXAMPLE: Whenever students graduate and new ones get hired, the Repository Administrator can remove and add group members. Then the new members are able to see and approve items from the whole life of the group -- even pending submissions from before their time. It’s a time-saver too: instead of having to add herself and all her students as admins or editors for a given collection, she can just add the group.
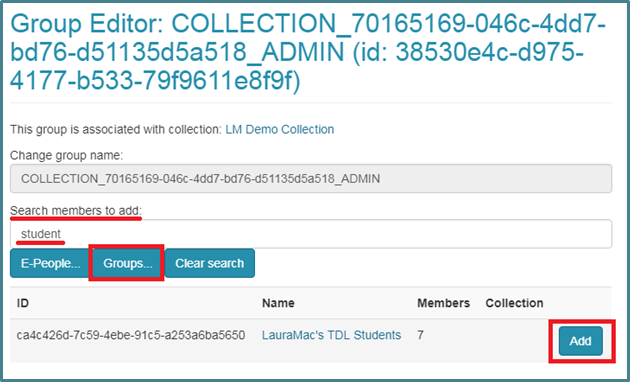
To add a previously created Group created via Method #2:
During creation of a Community or Collection, go to the Assign Roles tab. Click "Create."
Search for your desired Group and click "Add."